Earlier this month, I got Global Entry. For those unfamiliar, Global Entry is a membership program offered by the Department of Homeland Security in which members receive expedited security screening through the TSA PreCheck® lanes at participating domestic airports, as well as accelerated entry at eligible U.S. Customs locations. Global Entry is open to U.S. citizens and U.S. lawful permanent residents. Additionally, membership is available for citizens of selected other countries. This blog will go into each step of obtaining Global Entry based on my personal experience.
There are three main steps to obtaining Global Entry: a background check, an application fee, and an in-person interview.
Background Check and Application Fee
I started this process in late June of this year by creating a Trusted Traveler Programs account and filling out the Global Entry application. The application can be found on the Trusted Traveler Programs Website at https://ttp.cbp.dhs.gov/.
The application includes similar information needed for your driver’s license, past travel history, as well as your address history over the past five years. As this is a Global Application, you will also need to provide your passport information. You cannot make changes to an application once it is submitted. If you find errors, the Officer at the enrollment center will need to change your application for you.
After filling out and submitting the application, you then pay the one-time $100 Global Entry application fee. The fee is nonrefundable, and it won’t be refunded if you apply but aren’t approved. With my United Explorer MileagePlus card, I do get Global Entry or TSA PreCheck® reimbursed up to $100 every 4 years. As TSA PreCheck® is $78 and Global Entry is $100 and includes TSA PreCheck®, I opted to get Global Entry. If you have any questions about travel credit card perks, please let me know and I can write a future blog post about this!
On their website, it mentions that application processing time can take 4-6 months, however, mine only took a few days to be reviewed. I received an email from U.S. Customs and Border Protection notifying me that my TTP application status has changed. I logged in and saw that my application had been conditionally approved and I could now schedule my interview.
Scheduling the interview was the most difficult part of this process as when I first checked, there were no available appointments in all of July and August. I happened to log in to the program’s website on July 7th and saw that they had recently opened up in-person interviews at PHL in September. I scheduled mine for earlier this month on a Saturday afternoon.
If you are having trouble scheduling an interview, I have heard great things about Appointment Scanner. Appointment Scanner checks for last-minute interview cancellations 24/7 and sends you instant alerts when an appointment opens up. You can get this service for a one-time payment of $29. More information at https://appointmentscanner.com/#pricing. There is also the option of utilizing the Enrollment on Arrival program. This program allows you to complete your interview at specific airports when returning from an international trip and no appointment is necessary.
In-person Interview
You will need to bring in several documents to your appointment, including your passport, proof of address, and a secondary form of identification like a driver’s license. The Trusted Traveler website may also have instructed you to bring in additional documentation, such as court documents or a change of address notification so check before you head to your interview.
When you schedule your appointment, the appointment will include directions to the CBP office at the specific airport you selected. For example, PHL CBP is on the 3rd floor in the international arrivals hall which is the building where baggage claim is. Once you take the elevator to the 3rd floor, there are signs directing you to the Global Entry Enrollment Center as shown in the photo below.
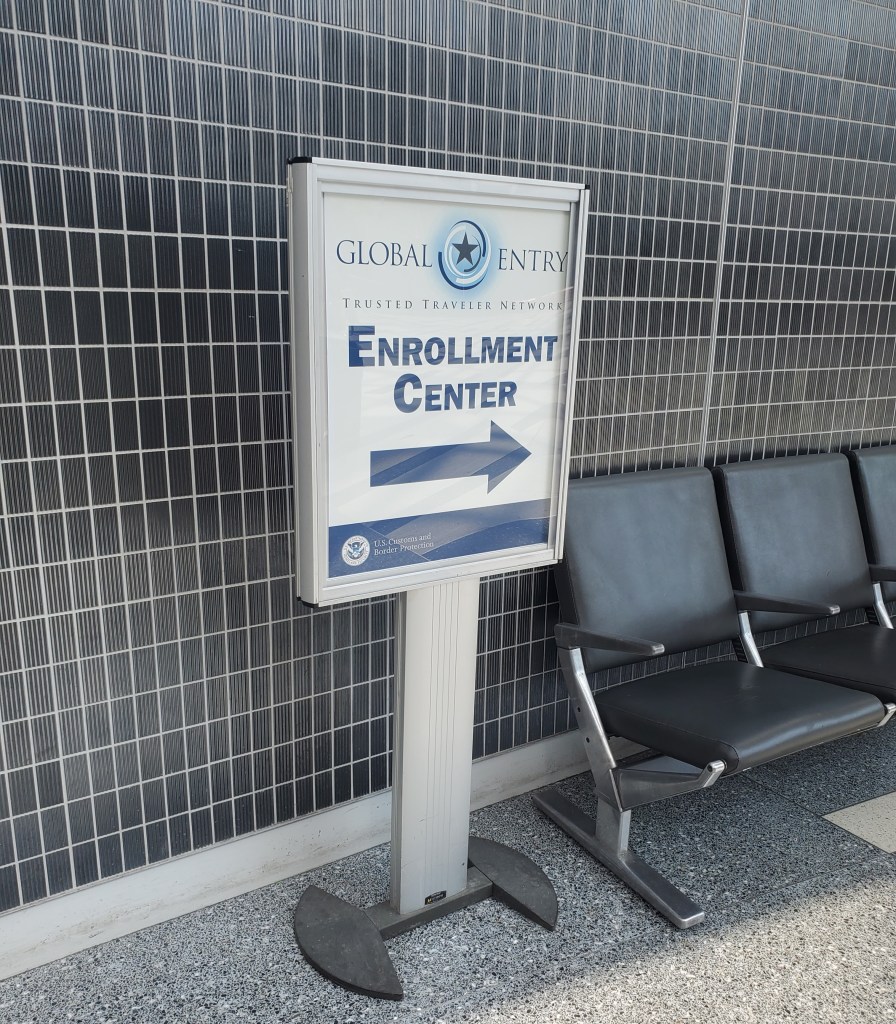
Global entry sign on the way to the enrollment center
I waited outside the double glass door for a CBP Officer to come out. They confirmed my name and appointment and then brought me back to the CBP officer for my interview. My interview at PHL was maybe 10-15 minutes in total and consisted of confirming information in my application and asking why I wanted Global Entry. Then the officer let me know I was approved. The officer then took my photo for my Global Entry card and how to use the self-service kiosks at immigration when I return back to the U.S. from an international trip. Soon after I left my interview, I received an email that there had been a recent change to the status of your application. I logged into the Trusted Traveler Programs Website (https://ttp.dhs.gov) for more information. I received my card in the mail 2 weeks later.
Membership
Once approved, your membership lasts for five years and expires on your birthday, so mine is valid until my birthday in 2028. It does come in an RFID-blocking sleeve which was a nice bonus. I am excited to use my Global Entry membership next month when I travel to Los Angeles for SWE Conference since my membership also includes TSA PreCheck®.
To renew your membership, you complete the same application and add in anything new that has taken place since you were originally approved, such as recent international trips or a change of address. The renewal application can be started up to a year before your Global Entry status expires. While the renewal is processing, you’ll still be able to take advantage of your Global Entry benefits. The current grace period extends 24 months after the original expiration date. Not everyone who renews will need an interview; they may just be granted approval. CBP is operating a pilot program for renewals that require interviews. Select travelers will be able to schedule remote interviews online, which will take about 15 minutes to complete.
Any questions about Global Entry or traveling in general? Please send us an email at danitheengineer.blog@gmail.com or leave a comment below.

One Comment Add yours